← Back to Blog

How to Personalize El Payaso Plim Plim T-Shirts with Patches

Learn how to add patches and embroidery to your El Payaso Plim Plim t-shirts for a unique look. This easy DIY guide covers materials, step-by-step application, and care instructions.

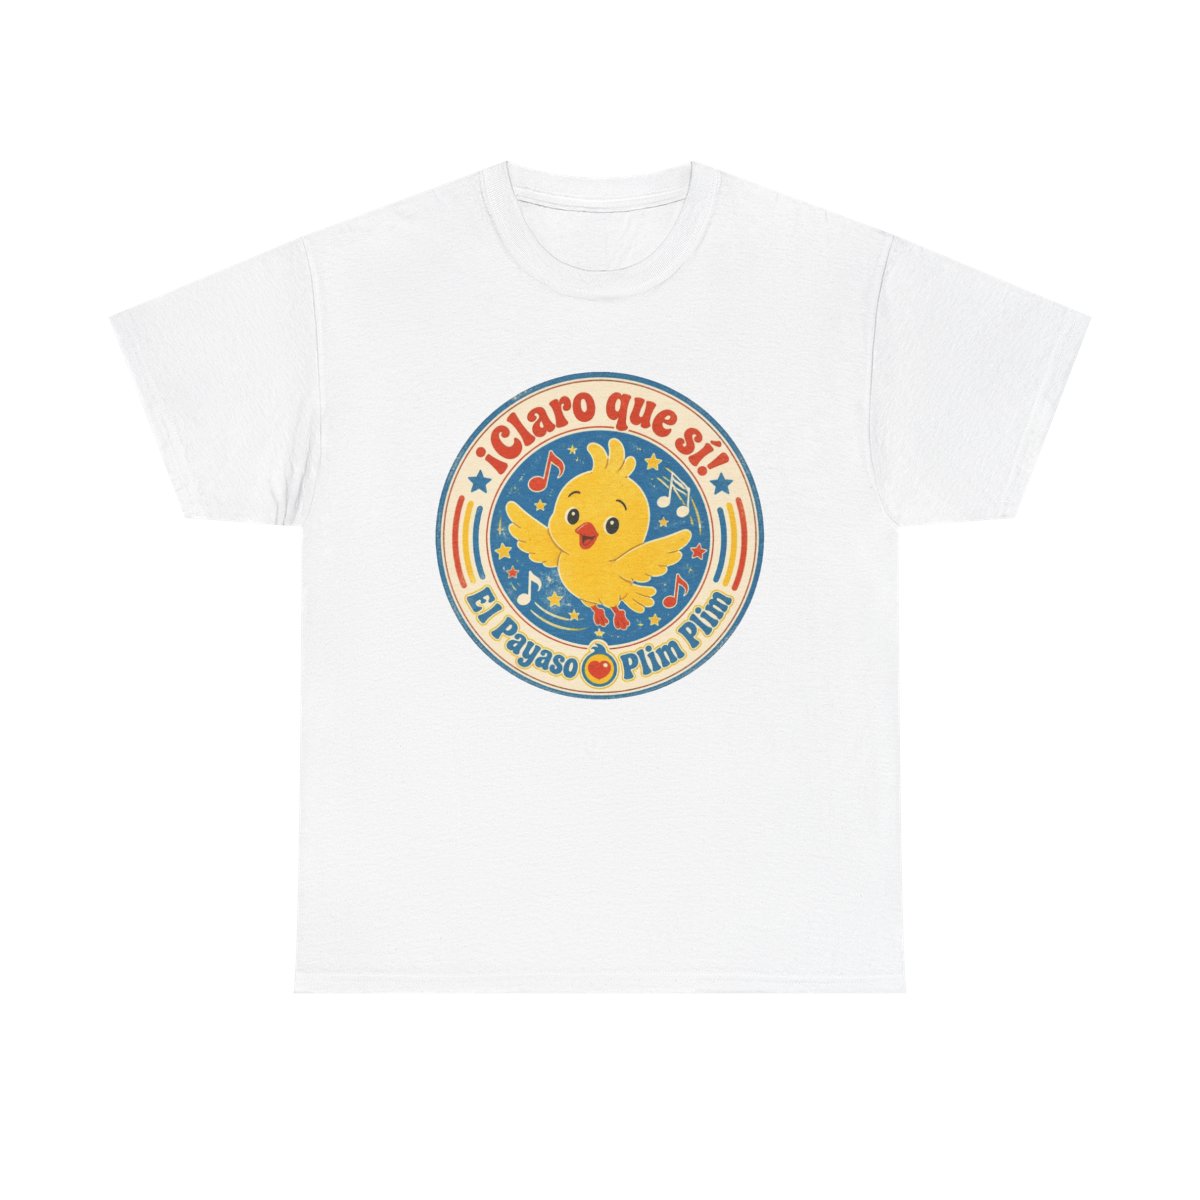
I still remember the first time I saw a fan wearing a Plim Plim t-shirt with a hand-stitched patch of the little clown's magic hat. It made the shirt feel personal, like a one-of-a-kind collector's item. If you're ready to give your Plim Plim gear that same custom flair, this guide will walk you through everything you need to know about Plim Plim t-shirt personalization using patches.

Quick Picks SummaryBest ForKey FeaturePrice Range
Iron-on Patch KitBeginnersEasy no-sew application$8 - $15
Sew-on Patch BundleLong-lasting wearMachine washable$12 - $20
Custom Embroidered PatchUnique designsFull color, made to order$15 - $30
Fabric Glue + Patch SetKids' projectsNo heat or needles needed$10 - $18

Why Personalize Your Plim Plim Gear

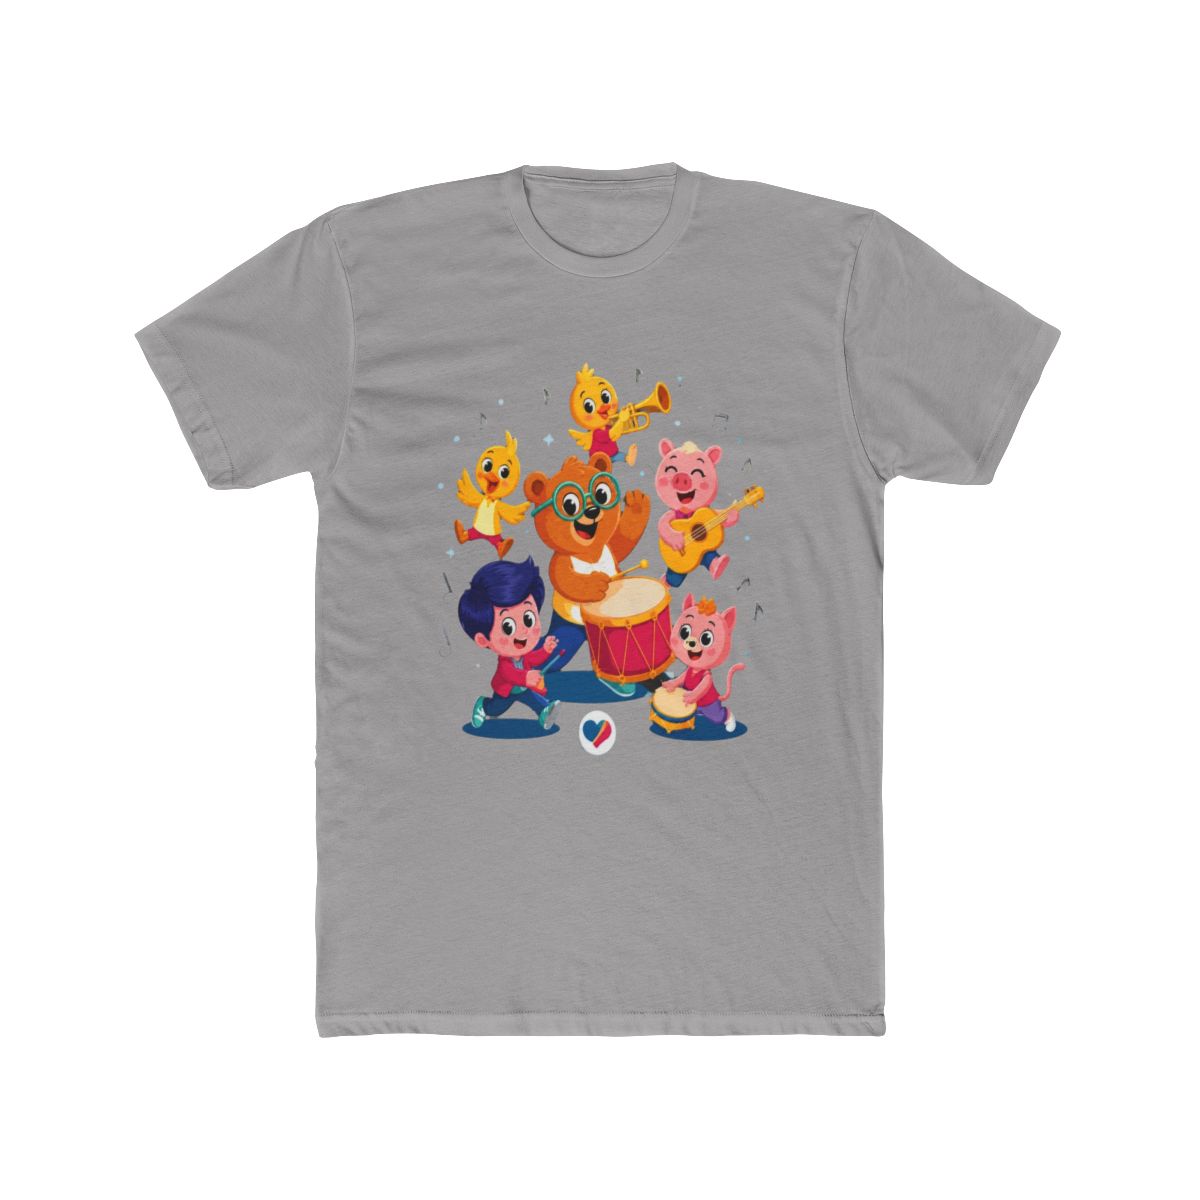
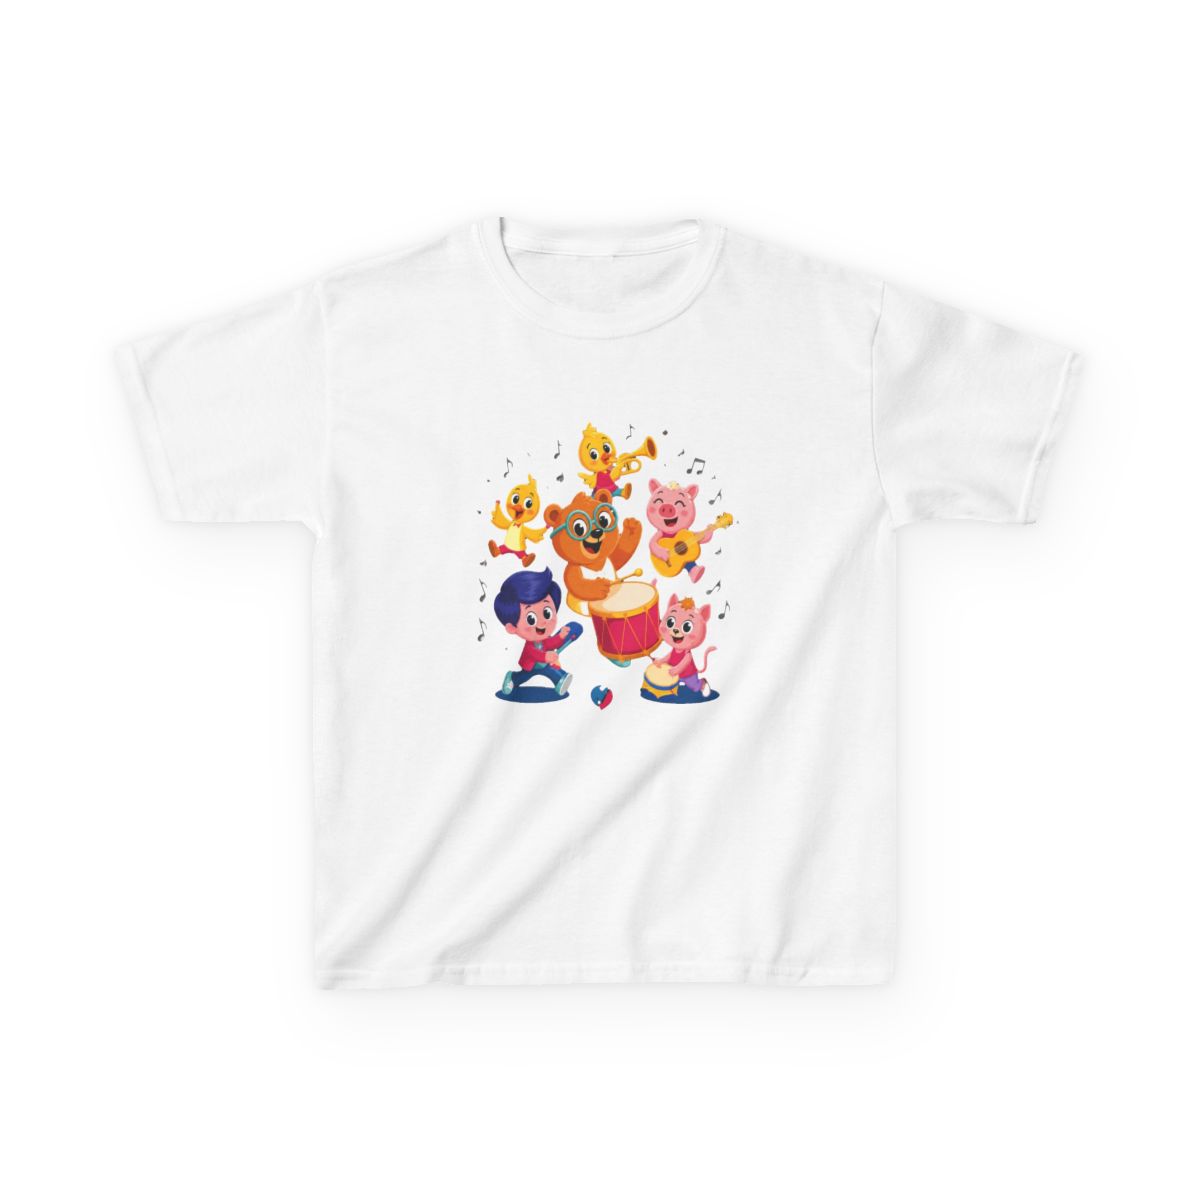
Adding patches to your favorite Plim Plim t-shirt transforms a standard fan tee into a statement piece. Whether you want to showcase your favorite character moment from the 2026 season or create a matching set for a family outing, personalization sets your merch apart.

Patches let you tell your own story. You can combine the official El Payaso Plim Plim logo with a patch of the sun or a rainbow to create a scene. In my experience working with accessories, personalized items also make thoughtful gifts - kids especially love choosing their own patch combinations.

Beyond looks, patching can extend the life of a shirt. A small tear or faded print can be covered with a well-placed patch, giving your tee a second chance. It's a sustainable and creative way to refresh your wardrobe.

Materials You'll Need for DIY Patches

Before you start, gather these essentials:

  • The shirt: A 100% cotton Plim Plim tee works best because the fabric holds patches securely. Our store's Cotton Crew Tee is a great base.
  • Patches: Choose pre-made iron-on or sew-on patches, or order custom ones. For this guide, I recommend our Official Plim Plim Patch Set (includes the clown, his friends, and nature motifs).
  • Tools: Iron (for iron-on), needle and thread (for sew-on), fabric glue (for no-heat option), scissors, pins, and a ruler.
  • Optional: Embroidery hoop, stabilizer, and floss if you want to add your own stitching details.

Pro tip: If you're new to DIY, start with iron-on patches. They require minimal setup and are nearly foolproof.

Step-by-Step Patch Application Guide

Step 1: Plan Your Layout

Lay your shirt flat and arrange patches without attaching them. Use pins to hold them in place. Stand back and check the balance. For a standard tee, I suggest placing the main logo patch on the chest (left side, about 4 inches below the collar) and smaller patches on the sleeves or lower hem.

Step 2: Prep the Fabric

Turn your shirt inside out and preheat your iron to the cotton setting (about 350°F / 175°C). Iron the area where the patch will go for 10 seconds to remove wrinkles and moisture. This helps the adhesive grip better.

Step 3: Apply the Patch (Iron-On Method)

Place the patch exactly where you want it, adhesive side down. Cover with a thin cloth (or use parchment paper). Press the iron firmly without steam for 30-40 seconds. Do not slide the iron - lift and press. Let cool for 1 minute, then check edges. If any corner lifts, press again for 10 seconds. Repeat for all patches.

Step 4: Reinforce with Stitches (Optional but Recommended)

For patches on high-movement areas like elbows or shoulders, add a simple running stitch around the edge. Use thread that matches the patch or a contrasting color for a deliberate look. This prevents peeling after multiple washes.

Step 5: Final Press

Turn the shirt right side out, cover with cloth, and iron the entire patched area for another 15 seconds. This sets the adhesive and flattens any bumps.

Common mistake: Rushing the cooling time. If you move the shirt too soon, the patch can shift or lose adhesion. Wait a full 2 minutes before handling.
Embroidery Tips for Beginners

If you want to add your own stitching, start with a simple backstitch. Here's how:

  • Outline a patch: Use a backstitch to trace the edge of an iron-on patch. This adds durability and a handmade touch.
  • Add details: Stitch a small star or heart next to the Plim Plim character. Use 2 strands of embroidery floss for thin lines, 6 strands for bold accents.
  • Practice on scrap fabric first. I always keep a spare piece of cotton to test stitch length and tension.

Pro tip: An embroidery hoop keeps fabric taut and prevents puckering. Our Basic Embroidery Kit includes a hoop, needles, and 12 colors of floss - perfect for beginners.

Care Instructions for Customized Shirts

To keep your personalized Plim Plim tee looking fresh:

  • Wash inside out in cold water. Patches are less likely to catch on other garments.
  • Use a gentle cycle and mild detergent. Avoid bleach or fabric softener, which can weaken adhesives.
  • Air dry whenever possible. High heat in a dryer can loosen iron-on patches. If you must dry on low, remove the shirt while still slightly damp.
  • Iron carefully: When ironing the shirt later, avoid direct contact with the patch. Iron the reverse side or use a pressing cloth.

My rule of thumb: After the first wash, check edges. If you see peeling, re-iron with a cloth for 10 seconds. Most patches will hold for 50+ washes if cared for properly.

FAQ

Can I use patches on a polyester Plim Plim shirt?

Polyester can melt under high heat. If your shirt is a poly-cotton blend, use a lower iron setting (300°F/150°C) and place a thick cloth between the iron and patch. Sew-on or glue-on patches are safer options.

How do I remove a patch if I change my mind?

For iron-on patches, apply heat with an iron for 20 seconds to soften the adhesive, then gently peel from a corner. Use rubbing alcohol to remove residue. For sewn patches, simply cut the threads with a seam ripper.

Where can I buy Plim Plim patches?

Our store offers a curated collection of El Payaso Plim Plim patches that match show designs from 2026. Check the Accessories section for new arrivals.

Will the patch damage the shirt's original print?

If you place a patch over an existing print, test a corner first. The adhesive can sometimes lift ink. I recommend placing patches on blank areas or over prints you don't mind covering.

Can kids do this project with supervision?

Yes. Kids 6+ can help with layout and simple gluing. Ironing should be done by an adult. Our Fabric Glue + Patch Set is designed for safe, no-heat application.

Key Takeaways

  • Start with iron-on patches for the easiest Plim Plim t-shirt personalization.
  • Plan your layout before applying to avoid mistakes.
  • Reinforce patches with stitches for extra durability.
  • Wash inside out and air dry to make your customization last.
  • Have fun with it - combine patches from different collections to create your unique style.

Related Posts

Shop El Payaso Plim Plim Merch

Official merchandise — premium quality, designed for the community.